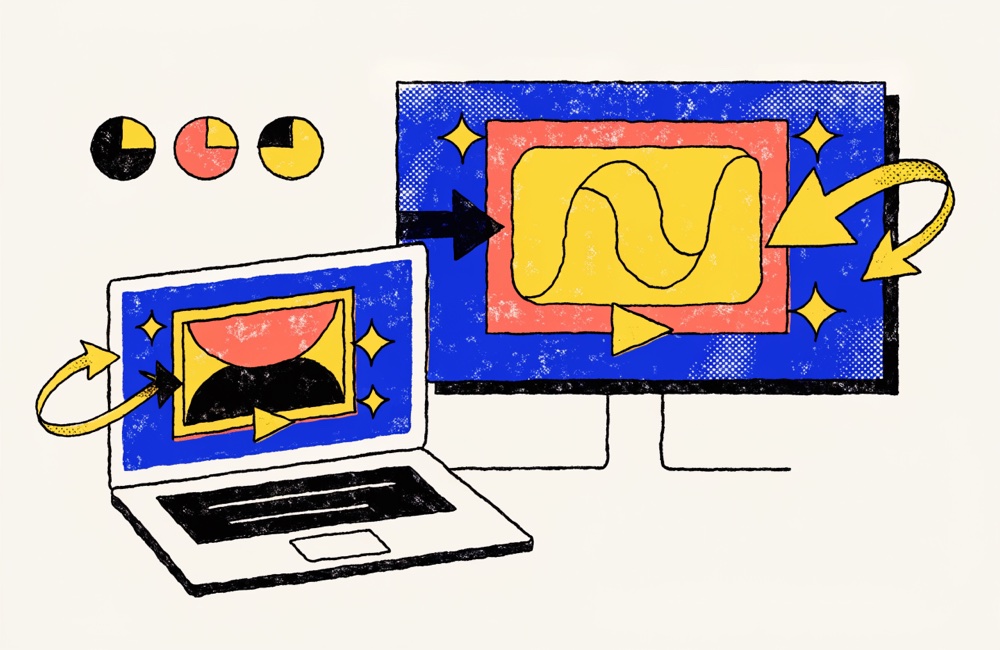
There's a specific kind of agony in watching a GIF that's almost right. The punchline lands one beat too late. The loop hiccups. The crop pinches a 16:9 clip into something subtly, queasily wrong. The difference between a GIF that kills in a deck and one that just sits there is usually a handful of frames, and most "quick" converters won't even let you see them, much less land on one. This is the guide for people who refuse to ship "almost." Below: what frame-perfect actually means, and exactly how What the GIF gets you there.
What "frame-perfect" really means
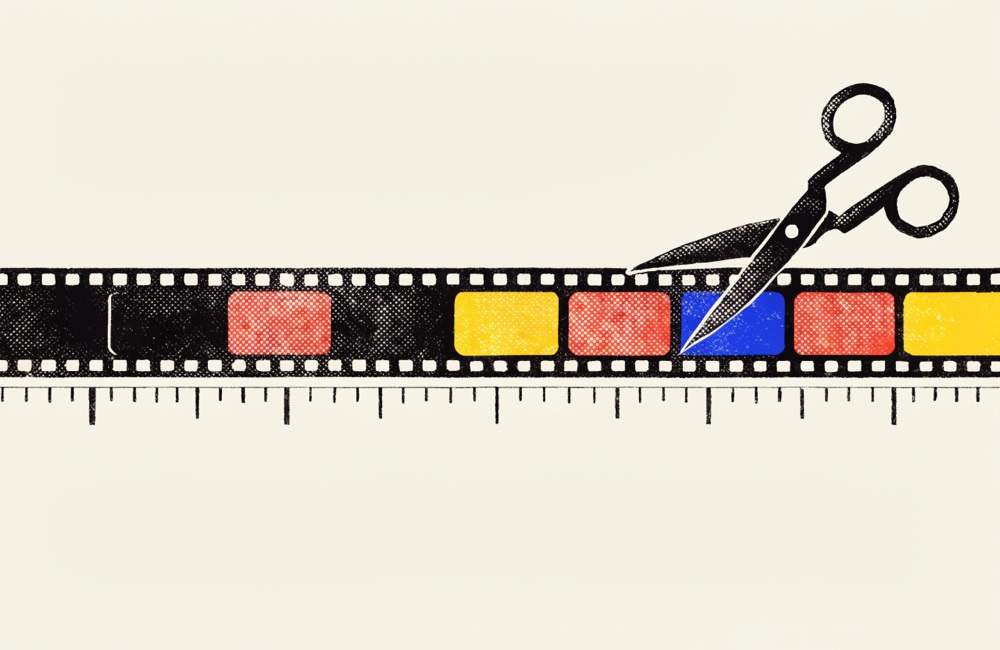
A second of video isn't one moment, it's a stack of frames, usually 24, 25, or 30 of them. When a converter only lets you trim to the nearest second (or worse, to wherever your mouse happens to land on a slippery scrubber), you're throwing away the units that comedy and motion are actually built from. You're rounding off the joke. Three places where one frame is the whole ballgame:
- Comedic timing. The reaction, the double-take, the eyebrow, these read as funny because of the pause before them. Cut one frame early and you've clipped the breath that sells it. Frame-level control lets you hold exactly long enough, then get out clean.
- Clean loops. A seamless loop needs the last frame to flow into the first as if there were no cut at all. That's a frame-exact in-point and out-point, not a vibe and a prayer.
- Exact in/out points. Sometimes you need to start the instant a logo finishes animating, or stop the frame before a stray cursor wanders into shot. "Roughly there" leaves the garbage in, and on a 30 fps source, "roughly" can be a third of a second of dead air.
How the trim track works
Drop a clip into the converter and the timeline does something most tools don't bother with: it reads your source video's real frame rate and shows time as seconds plus frames. So a handle reads 25s 12f, twelve frames into the twenty-sixth second, not a vague decimal you have to squint at. You always know precisely where the cut falls, in the same units an editor would use.
- Drag handles snap to frame boundaries. You physically cannot land between two frames. Every drag clicks onto a real source frame, so your in and out points are honest, no sub-frame limbo where the preview shows one thing and the export shows another.
- Arrow keys nudge ±1 frame. Click a handle to focus it, then tap Left or Right to move exactly one frame at a time. Hold Shift and each press jumps 10 frames, fast travel for long clips, single taps for the last mile. It's the keyboard rhythm you already know from a real timeline.
- It matches your source. The app detects common rates (24, 25, 30 and friends) and locks the math to them, so the frame counter actually corresponds to the frames in your file, not some resampled approximation invented at export time.
Lock the crop so nothing squashes
Trimming sets when; cropping sets what we see. Click Crop Frame and you can drag a freeform selection, or lock it to an exact aspect ratio: 16:9, 9:16, 1:1, 4:5, or 4:3. Lock it and the output is sized to match that ratio exactly, so a widescreen clip stays widescreen and a vertical clip stays vertical. No mystery stretching. No faces that got 8% wider somewhere between your timeline and your slide, the single most common way a perfectly good clip ends up looking off and nobody can say why.
Pick the ratio for where the GIF is going. 16:9 sits flush in a slide or a landing-page hero. 1:1 and 4:5 hold their ground in a social feed instead of getting auto-cropped by the platform. 9:16 fills a phone-shaped frame for a story or a mobile mockup. 4:3 is your friend for older screen recordings and the occasional retro bit. Choose first, then trim, it's easier to time a beat when the frame is already the shape it'll ship in.
Build a seamless loop, step by step
- Find a natural loop candidate, a clip where the subject returns to roughly its starting position. A nod, a spin, a UI animation that settles back, a logo that resolves. Cyclical motion loops; a clip that drifts somewhere new does not.
- Drag the start handle to the first clean frame. Read the label and note the frame number, e.g. 2s 03f, so you have a reference for the end.
- Drag the end handle to where the motion completes, then arrow-key ±1 frame until the final frame visually matches your start frame as closely as possible. You're aiming for two frames that could be the same instant.
- If the loop "stutters," trim a single frame off the end. Most stutters are one duplicated frame at the seam, focus the end handle and tap Left once. Nine times out of ten, that's the whole fix.
- Set a frame rate that matches the feel (more on fps below), watch the live size estimate, and encode. Play it through twice to confirm the seam is invisible, the loop point should be the one spot your eye can't find.
Nail a perfectly timed cut
- Scrub to the moment just before your beat, the breath before the punchline, the wind-up before the reaction.
- Focus the start handle and arrow-key to the exact first frame you want. One frame of lead-in usually reads better than zero; a hard cut straight into motion feels clipped.
- Jump toward the end with Shift + Arrow (10 frames a tap), then switch to single taps to land the out-point on the reaction's peak, the apex of the laugh, the top of the eyebrow.
- Trim tight. A reaction GIF that runs three seconds when it could run one and a half is a reaction GIF nobody watches to the end. When in doubt, cut a few frames sooner, momentum beats completeness.
Frame rate, file size, and clean loop points
Frame rate is where precision meets practicality. What the GIF runs 3 to 30 fps (default 15), and higher isn't automatically better, every extra frame is extra bytes, and GIF is a famously hungry format.
- 10–15 fps covers most work. Talking-head and screen recordings look smooth at 12–15; drop to 10 for slow, deliberate clips. Save 24+ for genuinely fast motion where the judder would show, gameplay, sports, a whip-pan.
- Match your loop math to your fps. If your loop is exactly 30 source frames and you encode at 15 fps, the GIF holds whole frames cleanly. Awkward fps-to-length ratios are where seams creep back in, so when a loop looks slightly off despite a clean trim, try an fps that divides evenly into your trimmed frame count.
- Keep it under ~2 MB for Slack inline, email, and timeline embeds; ~5 MB is fine for a slide that lives on your own machine. Watch the live size estimate and trade fps or crop resolution down until it fits before you encode, adjusting a slider beats re-rendering and re-checking every time.
Everything runs inside your browser tab, nothing uploads, no signup, no watermark, and nothing for corporate IT to flag, because your footage never leaves the machine it's already on. The ads keep it free; the frame counter keeps it precise. Next stops: drop your loop straight into a deck with the Google Slides guide or the PowerPoint and Keynote guide, or size a tight reaction for chat with Slack and Discord. When you're ready, the tool's right here, drop a clip and start nudging.