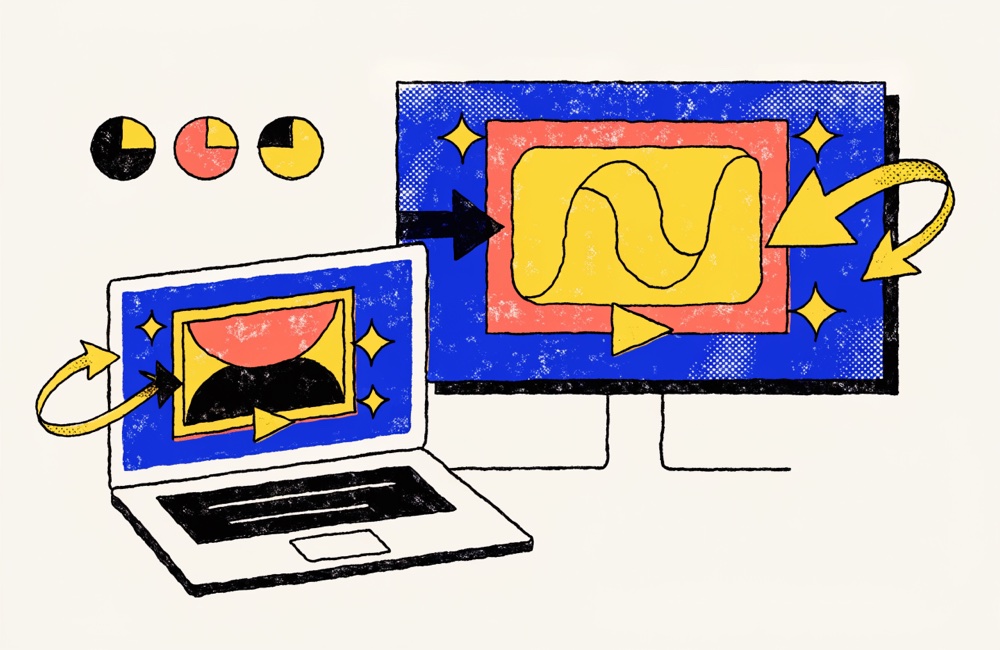
You've built the deck. The product demo is the moment the whole pitch turns on. Then you hit Present, the slide loads, and the video just... sits there. A gray rectangle with a play button, waiting for someone to click it while forty people watch you click it. We've all lived this. The fix isn't a better video embed, it's not using one. Drop in a GIF instead, and the motion plays the instant the slide appears, loops on its own, and never asks the conference Wi-Fi for permission.
Why embedded video in Slides lets you down
Google Slides can embed video from Drive or YouTube, and on a good day it's fine. The problem is the bad days, which have a habit of being pitch day:
- It won't autoplay or loop on its own. Slides defaults to "play on click." You have to open Format options and set autoplay per video, every single time, and even then, cleanly looping a three-second clip is fiddly at best.
- It needs internet. YouTube embeds stream live. No connection, or a captive-portal guest network that never quite logs you in, means a blank frame where your demo should be. Drive embeds aren't much friendlier offline.
- It's slow to start. Even when it works, there's a beat of buffering before the first frame. That beat is exactly where a room's attention wanders to someone's phone.
- Present mode is where it breaks. The thumbnail looks perfect in edit view, then refuses to fire when it counts. A different browser, a borrowed laptop, presenter-view shenanigans, a second monitor, too many variables you don't control standing in front of the people you're trying to impress.
- You can't trim to the exact beat. Slides' built-in trimmer works in rough seconds. The 1.3-second moment you actually want is surrounded by dead air, a stray cursor wobble before, a half-second of nothing after, that you can't surgically remove.
Why a GIF just works
A GIF isn't video to Slides, it's an image. And images are the most boringly reliable thing a slide can hold. That's the whole trick:
- It autoplays the moment the slide appears. No click, no Format options, no autoplay checkbox to forget under pressure.
- It loops forever. The motion repeats for as long as you're on the slide, so your point keeps landing while you talk over it.
- It's fully offline. The file lives inside the deck itself. Airplane mode, a locked-down client network, a basement conference room with one bar of signal, none of it matters.
- It advances cleanly. Click to the next slide and it just goes. No "is the video still playing in the background?" weirdness, no audio bleeding into your next point.
The catch: a GIF is only as good as the GIF you make. A 9 MB, 30-frames-per-second monster will bloat your deck and stutter on a projector. The goal is a small, sharp clip cropped to your slide's exact dimensions. That's the part most tools fumble, and the part What the GIF is built for.
Make the GIF (the frame-perfect way)
First, get your source clip. Screen-record the demo (QuickTime on a Mac, the Snipping Tool or Xbox Game Bar on Windows, or your OS's built-in recorder) or pull the scene from existing footage. Trim it roughly if you like, you'll do the precise cut next. Then head to the converter, which runs entirely inside your browser tab. Nothing uploads anywhere.
- Drop the file in. Drag your MP4, MOV, or WebM onto the page. It loads locally, no account, no upload, no waiting on a render queue.
- Trim frame-perfect. The timeline shows seconds and frames and snaps to frame boundaries. Set your in and out points, then nudge with the arrow keys (±1 frame) until the loop starts and ends on exactly the right moment. This is how you kill the dead air that makes a loop feel janky.
- Lock the crop to your slide's ratio. A standard Slides deck is 16:9. Pick that aspect ratio so the crop locks and your output never gets squashed. (Building a vertical or square moment, or a 4:3 deck for an older template? 9:16, 1:1, 4:5, and 4:3 are there too.)
- Set the frame rate. For most screen demos, 12–15 fps looks smooth and keeps the file lean. Going above ~15 mostly buys you a bigger file, not a better-looking loop, cursor movement and UI transitions simply don't need 30 fps to read clearly.
- Scale to slide size. You rarely need full resolution. For a GIF that fills most of a 16:9 slide, somewhere around 960–1280 px wide is plenty; if it's tucked in a corner next to bullet points, 480–720 px is fine. Output dimensions are the single biggest lever on file size, so trim them before you reach for anything else.
- Watch the size estimate. The converter shows you the projected file size as you tweak. Aim to keep it under roughly 2–5 MB, small enough that the deck stays snappy and syncs to Drive without a spinning wheel.
- Convert and save. Hit Convert, let it render in the tab, and save the GIF to your machine.
Drop it into Google Slides
With the GIF saved, the Slides part takes about ten seconds:
- Open your slide and go to Insert ▸ Image ▸ Upload from computer.
- Choose your GIF. It appears on the slide already animating, no settings to flip, no "enable playback" prompt.
- Position and resize it. Hold Shift while dragging a corner handle to keep the aspect ratio you so carefully locked.
- If it needs to sit behind text or other elements, right-click and choose Order ▸ Send to back.
PowerPoint and Keynote work the same way, insert it as a picture and it animates in presentation mode automatically. We have a dedicated walkthrough for PowerPoint & Keynote if that's your stage. And if the demo started life as a bug or a feature walkthrough, the same GIF doubles as a drop-in for bug reports and demos, make it once, paste it everywhere.
Make it legible on a projector
Projectors are unforgiving, dim, low-contrast, often slightly out of focus. A few choices at conversion time keep your GIF readable from the back row:
- Crop tight to what matters. If the point is a single button click, crop to the button area. Don't make the room hunt across a full-screen recording for the one cursor movement that matters.
- Favor simple, high-contrast motion. GIFs use a limited 256-color palette, so gradients, drop shadows, and busy footage can show visible banding. Clean UI, solid fills, and bold contrast hold up far better on a washed-out projector.
- Keep it short. A 2–4 second loop reads as intentional. A 15-second clip reads as "please wait while I narrate the obvious."
- Mind the loop seam. Use the frame-perfect trim so the last frame flows back into the first. A clean loop looks deliberate; a jumpy one looks broken and quietly undermines you. More on nailing the seam in our frame-perfect trimming guide.
The privacy bit (and why it matters here)
Here's the part your security team will actually appreciate: because What the GIF runs entirely client-side, your footage never leaves the browser tab. No upload to a third-party server, no stray copy sitting in someone's cloud bucket waiting to leak. For client demos under NDA, unreleased product UI, or anything labeled internal-only, that's the difference between "sure, go ahead" and a forty-minute thread with legal. The tool is free, and there's no watermark stamped across your work, the ads on the page cover the bills so your pixels don't have to.
Common mistakes to skip
- Too long. Every second is more frames and more megabytes. Cut to the essential moment and let the loop do the repeating for you.
- Too big. A 10 MB GIF bloats the deck and can stutter on older meeting-room hardware. Watch the size estimate and stay under ~5 MB.
- Wrong ratio. Dropping a square GIF onto a 16:9 slide and stretching it to fit makes every face and logo in it look distorted. Lock the aspect ratio at conversion so it physically can't squash.
- Cranking the frame rate. 30 fps doesn't make a UI demo look meaningfully smoother, it just makes the file heavier and slower to load. Stick to 12–15.
Do this once and embedded-video roulette stops being part of your pitch. The motion's already baked into the slide, ready to play the instant you arrive, internet or not. Now go win the room.