What a Live Photo actually is
A Live Photo is not one file. It is two: a still (.heic, or .jpg on older settings) plus a hidden movie, about three seconds of video with sound, stored as a separate .mov. The pair is stitched together by a ContentIdentifier, a UUID written into both files' metadata. The Photos app reads that ID and plays the two as one thing. There is no motion inside the HEIC itself.
That detail explains the frustration you probably arrived with. When you pick a Live Photo in a website's file picker, iOS hands the site the still half only, usually converted to a JPEG on the way out. The movie never leaves your phone. No website can reach it through the picker: not this one, not any competitor, whatever their landing page implies. A site that says it converts Live Photos straight from the picker is converting a single frame.
So the honest route has two steps: get the movie out of hiding, then convert it. The first step takes about twenty seconds, and Apple built it in.
The 20-second method: Save as Video
The fix ships inside the Photos app. No cable, no companion app, no App Store detour.
- Open the Photos app and tap the Live Photo you want. The Live badge sits in the top left.
- Tap the three-dot menu in the top right corner.
- Tap Save as Video.
- Done. Photos writes a real .mov, sound included, to your library, right next to the original.
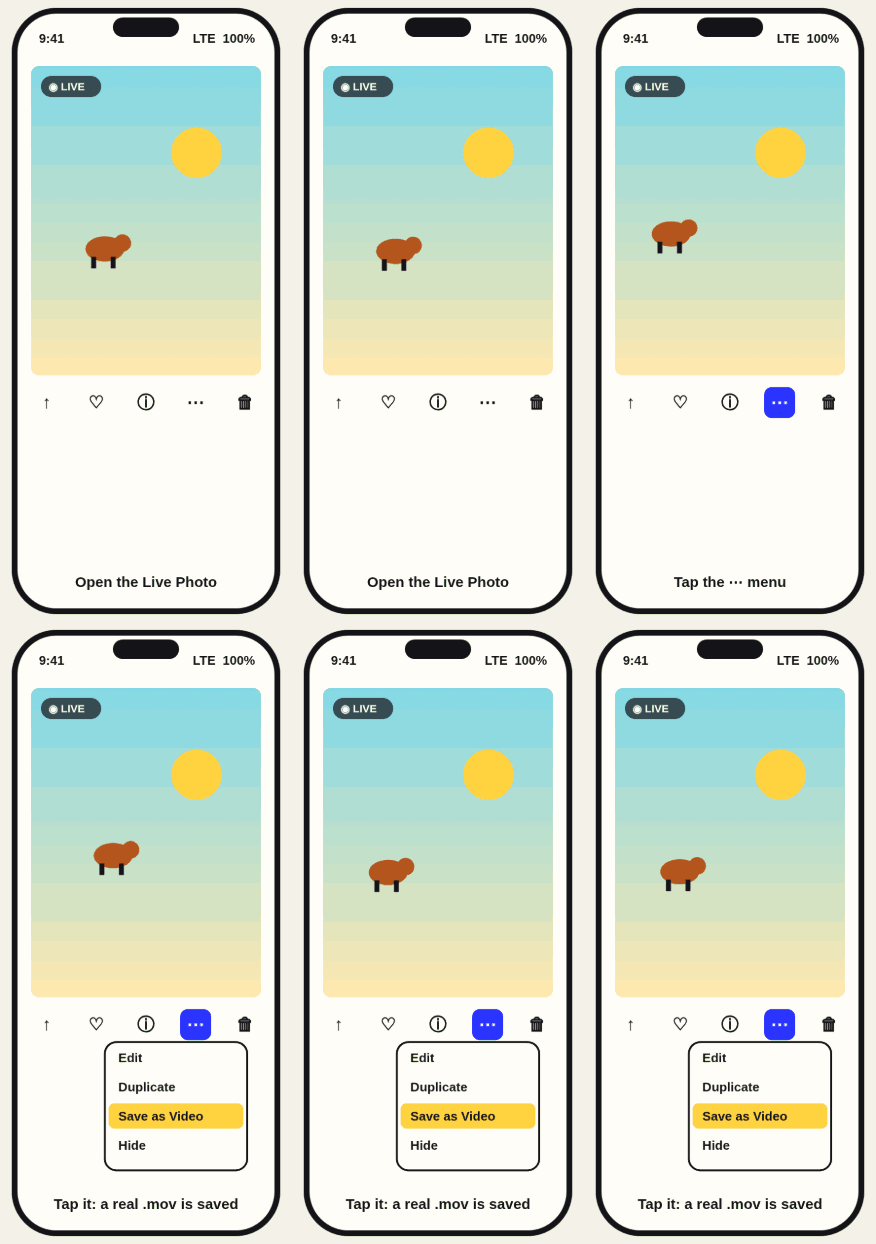
One catch: if the photo wears a Loop, Bounce, or Long Exposure effect, the menu hides Save as Video. Not a bug. Those photos already share as video, so send one out with the Share sheet and skip straight to the converter.
Drop the video in, trim to the beat
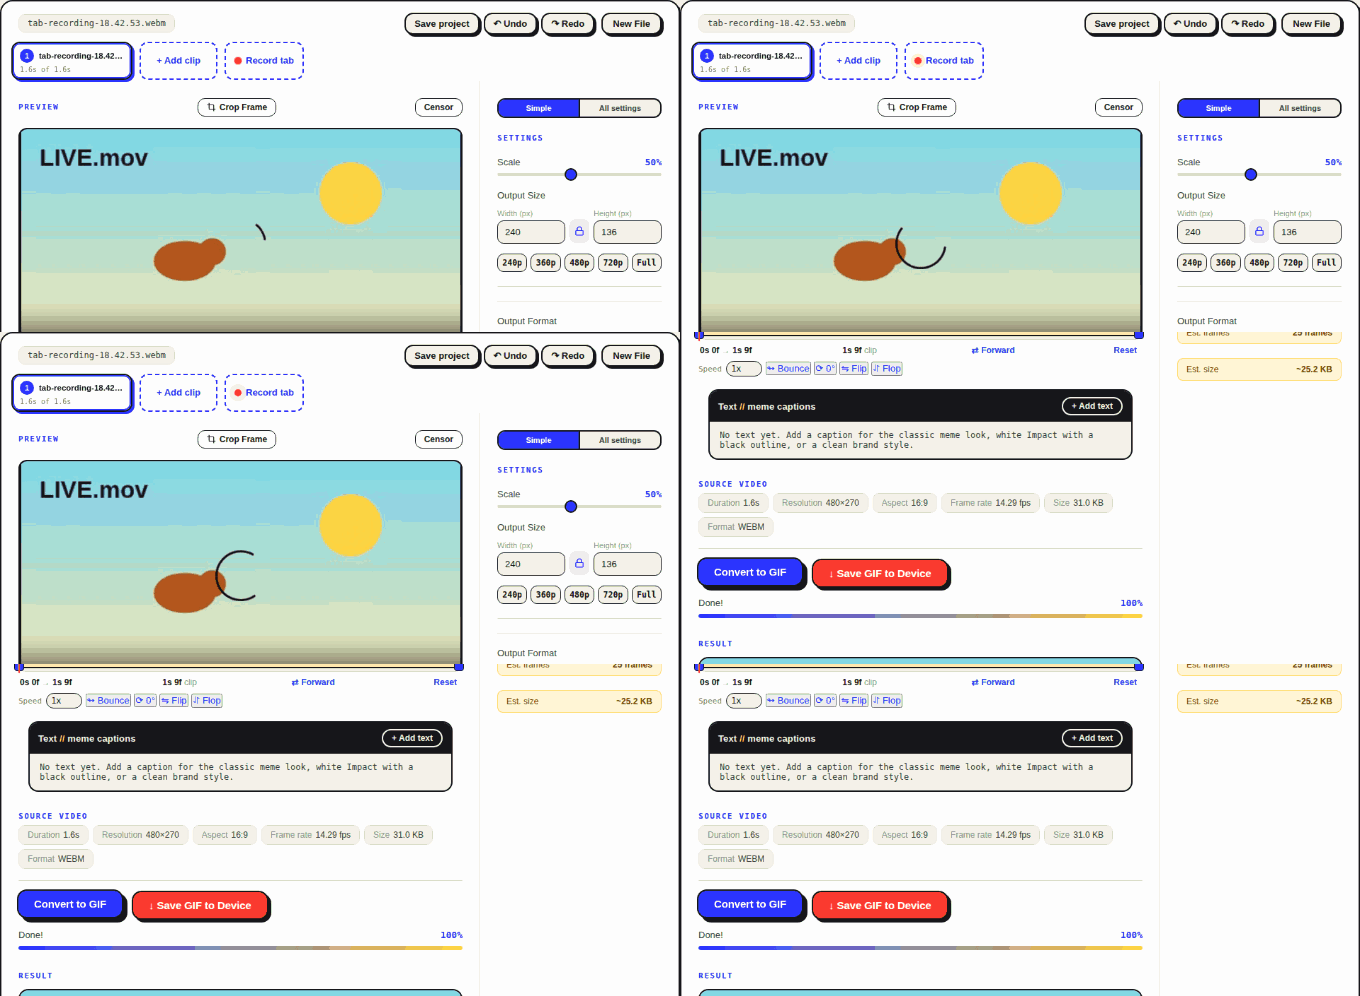
Now it's an ordinary video, and ordinary videos are the whole job here. Open the converter and drop the .mov in; Safari on the phone handles it fine. The timeline is frame-accurate, which matters more on a three-second clip than anywhere else: shave the wobble where you were still raising the phone, land the loop point on the beat. Caption it, crop it square for wherever it's headed, slow it down or speed it up, run it in reverse, or bounce it boomerang-style, forward then back, which is what half of all Live Photos secretly want to be. Up to ten clips stack into one output, so a pocketful of Live Photos becomes a montage, with fades if the cut feels hard.
Export as a GIF, or as a silent MP4 when the destination prefers video. Every step runs in your browser tab; the clip never uploads. The full manual shows each feature in motion, and the MOV to GIF page covers the format details.
Batch conversions and the other ways out
Save as Video scales. Select several Live Photos at once and the same menu converts the lot in one pass, one video per photo. Beyond that, every road out of a Live Photo leads to the same pair of files:
- AirDrop to a Mac hands over both halves as two files, the .heic and the .mov, side by side. Take the .mov.
- iCloud.com: select the photo, download, choose Unmodified Original, and the pair comes down together.
- The Shortcuts app can batch it: a small shortcut saves dozens of Live Photos as videos while you make coffee.
- Google Photos has its own save-as-video for motion stills, useful if that's where your library lives.
Whichever exit you take, the destination is the same: a real video file the converter can actually read.
Android's version: Motion Photos
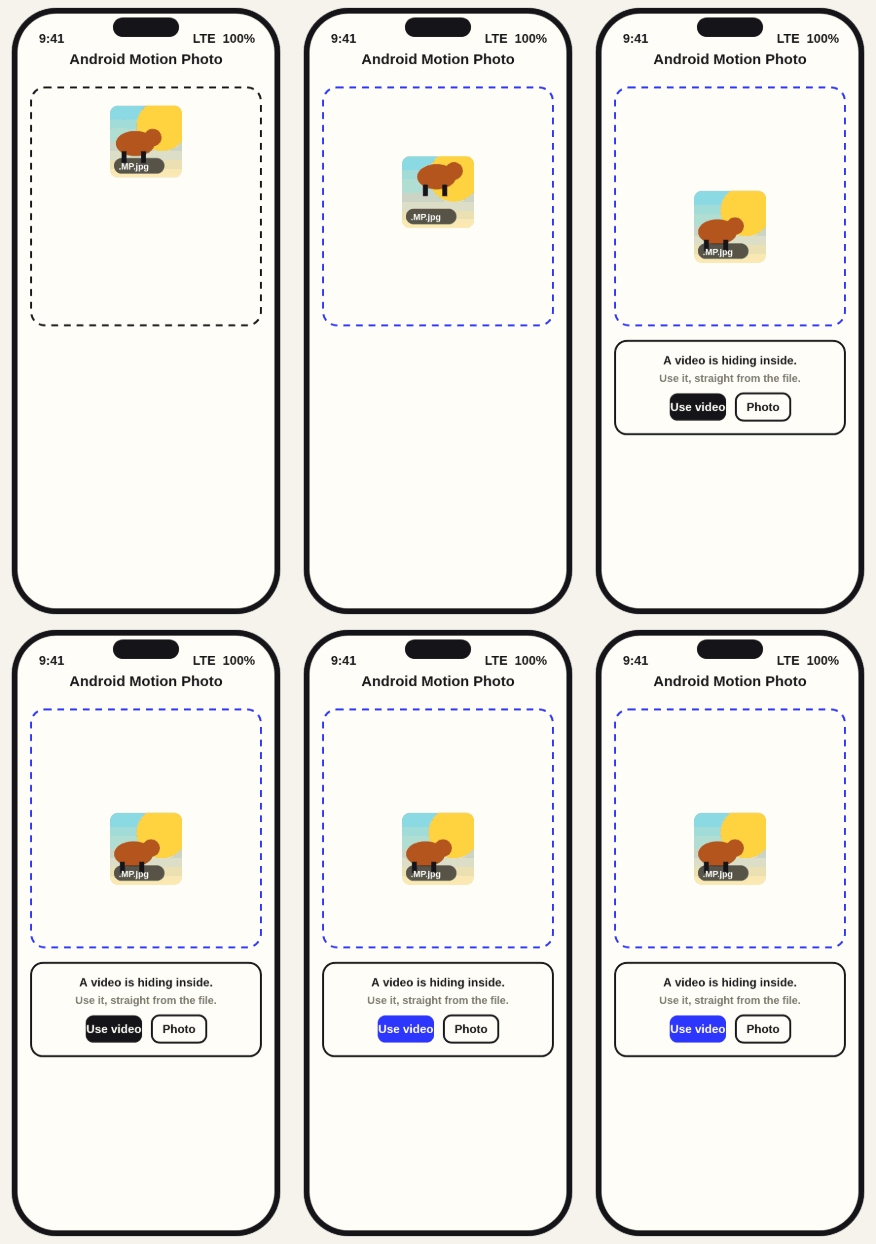
Android solved the same problem the opposite way. Pixel and Samsung phones shoot Motion Photos: one JPEG with a full MP4 tucked inside the same file, video bytes riding along after the image data. Because it's one file, the picker hands a website the whole thing, motion included.
So on Android there is no step one. Drop the Motion Photo straight onto the converter and What the GIF spots the embedded MP4 and offers to use it, right there in the browser. No companion app, no save-as-video ceremony, no digging through settings. The extraction runs locally, like everything else on the site; the photo never uploads.
Quality notes for a three-second source
Three seconds is not a limitation. It's the natural length of a GIF: most rewatchable loops run shorter than a Live Photo, so plan to cut, not to stretch. Trim both ends; the first half second is usually the phone still coming up to your eye.
On settings: 10 to 15 fps suits most GIFs, and with a source this short you can spend the savings on width instead. Width is still the biggest file-size lever, so downscale it before touching anything else, and let the tool's size estimate, measured from your real frames, tell you when to stop.
One iPhone setting worth knowing: Settings, Camera, Formats. Most Compatible records H.264 video and JPEG stills, which plays everywhere without exception. High Efficiency records HEVC, which the converter reads in Safari and other browsers that can decode HEVC, so on an Apple device you rarely think about it. Elsewhere it can refuse to open, and when a saved video or photo does, the HEIC and HEVC guide has the quick conversions and that camera setting, step by step.
Last honest note: GIFs are silent by format, and the MP4 this site exports is silent too. The sound your Live Photo captured lives on in the .mov, so if the audio is the point, share the video itself.