Clipping reaches backwards, so the payoff is at the tail
Twitch's clip button, and the Alt+X shortcut behind it, grabs a window of stream that has already happened, ending around the moment you reacted. Then the clip editor lets you slide that window and set a length anywhere from 5 to 60 seconds. Almost nobody bothers, so the internet is full of thirty-second clips whose good part lives in the last four.
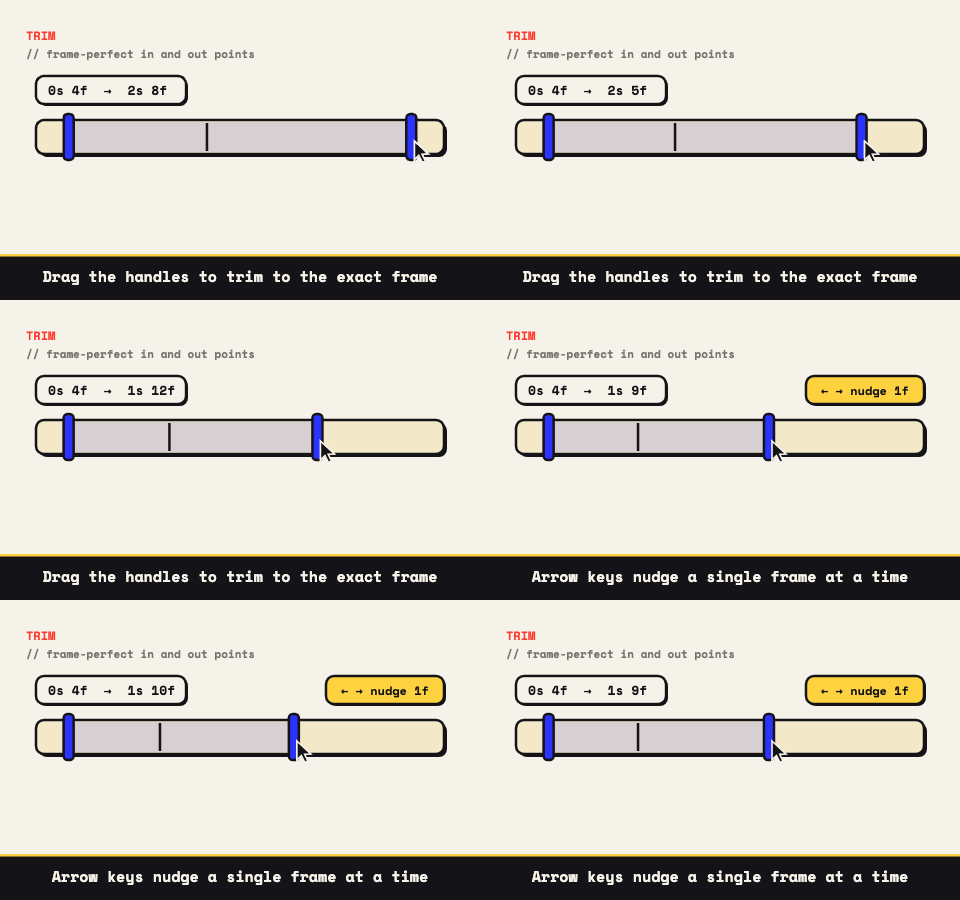
That geometry changes where you spend your attention in the edit. With ordinary footage you hunt for both ends. With a Twitch clip the out point is usually close to correct already, and the in point is doing all the work, since every second you leave in front of the moment is a second of a loop where nothing happens. Drag the start handle deep into the clip, then click it and tap the arrow keys, moving one frame per press, until the loop opens on the reaction itself.
Getting the file, without pretending
This converter reads files. It cannot fetch a URL, and a site offering to pull video down from a Twitch link would be claiming a right it does not have. So the honest routes are the real ones. For clips on your own channel, the Creator Dashboard lists them under Content, Clips, with a download available; broadcasters and their moderators have the same reach over clips made from their streams.
For somebody else's clip, the footage is theirs. Ask, credit the channel when you post the result, and accept that a highlight from a stream is the streamer's work even when the funny part was an accident. When the thing you want is already running in front of you on a desktop browser, Record a Tab grabs it locally in real time. Convenient, and it still does not make the footage yours. The YouTube guide works through the same rights question in more detail, since it comes up constantly there too.
Overlay soup, and what to cut out of it
A clip is not gameplay. It is the streamer's entire composited broadcast: facecam in a corner, alert box mid-fire, chat column, subathon timer, sponsor bar, and a webcam border with somebody's logo on it. All of it was flattened into the video long before you got there.
So decide what the loop is about and crop to it. A reaction wants the facecam alone, which conveniently turns a 16:9 broadcast into a tight 1:1 or 4:5. A play wants the game view with the interface furniture trimmed off the edges. The crop locks to exact ratios so a square cut is genuinely square, and because a GIF pays for every pixel it keeps, cropping is the cheapest size reduction on the page. Do it before you touch the scale.
Sixty frames in, twenty frames out, and a rounding quirk
Twitch delivers up to 1080p60 depending on the streamer's settings and how the transcode landed, and that density is a gift: sampling 60 fps down to 20 keeps one real captured frame in three, so the frames that survive are sharp ones rather than blurred composites. Fast action holds up far better from a 60 fps source than from a 30 fps one, even at the same output rate.
Worth knowing about the format on the other end: GIF stores each frame's delay in hundredths of a second, so not every frame rate divides evenly. 10 fps is exactly 10 hundredths per frame and lands true. 15 fps wants 6.67 hundredths, gets rounded to 7, and actually plays at about 14.3. 20 fps rounds to 5 hundredths and is honest again. It is a small thing, but it is why a clip cut to music sometimes drifts against the beat, and why 10 and 20 are the tidy choices when timing matters.
Make a reaction, not a documentary
Two to four seconds. That is the whole format. Past that a reaction stops reading as a reaction and starts asking for patience nobody in a Discord channel has. Set the frame rate at 20 for genuinely fast action and 12 to 15 for a face reacting, keep the width around 480, and cut the palette toward 96 or 128 so the file lands small enough that chat apps show it inline rather than as an attachment card. If the joke needs a label, up to three captions can ride on the frame in the classic meme style, and the Bounce toggle turns a single clip into a forward-then-back loop with no visible seam.
One honest note on why to do it here. A Twitch clip is already public, so privacy is not the pitch. The pitch is that you have the file, and there is no reason to queue it behind strangers' uploads, wait out a conversion, and collect a watermarked result, when your own machine can render it in the time the upload would have taken. Nothing is stamped on the export and nothing asks you to sign in. Drop the clip in and see. For posting it, the Reddit sizing guide covers the surfaces that treat GIFs differently.